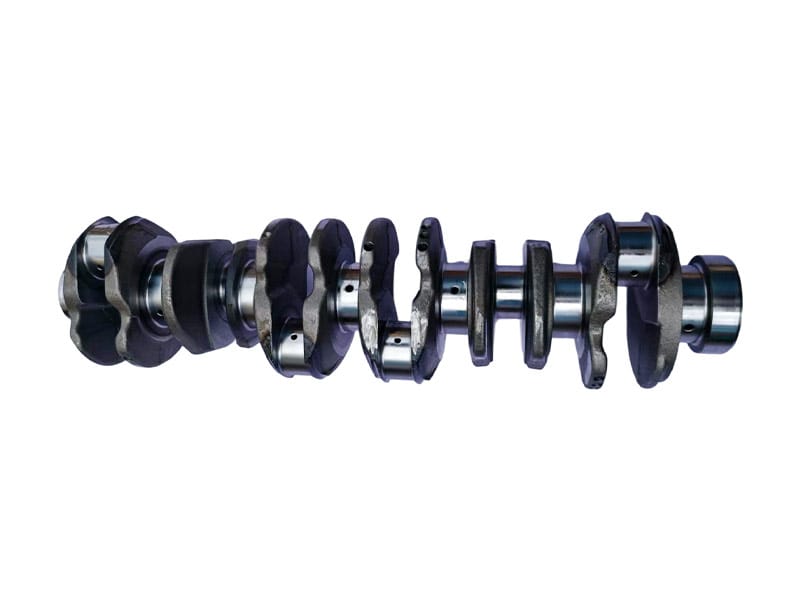
Crankshaft bearing failure should be treated as evidence of a system problem, not as proof that the crankshaft itself must always be replaced. A damaged main or connecting-rod bearing can result from oil starvation, contamination, incorrect clearance, misalignment, housing distortion, installation error, fatigue, or secondary damage from another engine fault. The bearing surface often contains useful clues about what happened to the journal and lubrication system before teardown.
For heavy truck engine repairs, the practical goal is to document the failed bearing, inspect the matching crankshaft journal, review the oil path, and decide whether the shaft can be reused, repaired, or replaced. This guide explains how to evaluate crankshaft bearing failure without assuming one visible wear pattern proves a single root cause.
Why Crankshaft Bearing Failure Needs a Full Investigation
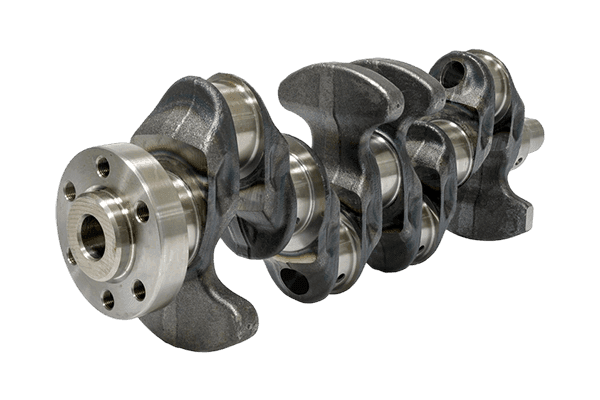
Journal bearings operate under a thin lubricating film between the bearing surface and crankshaft journal. When that film is lost or contaminated, metal-to-metal contact, abrasive wear, overheating, fatigue, or seizure can develop.
Research on diesel-engine bearing failures shows that bearing damage can involve abrasive, adhesive, surface-fatigue, and cavitation-related wear, with multiple causes often contributing at the same time. citeturn596766search1turn596766search2
That is why a crankshaft bearing failure investigation should not stop at “bearing worn.” The workshop needs to identify the wear mode, the corresponding journal condition, and the surrounding engine evidence.
Preserve the Bearing Shells by Position
The first step after crankshaft bearing failure is to keep the bearing shells organized by position. Do not place all main bearings or rod bearings into one unlabelled tray.
Mark each bearing by cylinder or main-journal position and by upper/lower shell where relevant. Photograph the installed orientation before removal if possible.
Different positions can show different wear patterns. A single severely damaged shell may point toward a local oil, alignment, or journal problem, while similar damage across several positions can suggest a wider system issue.
Inspect the Bearing Surface Before Cleaning
Before cleaning, photograph the bearing surface. Crankshaft bearing failure evidence can include wiped material, embedded debris, dark heat marks, polished areas, fatigue pits, scoring, edge wear, or localized seizure.
Cleaning can remove transferred metal, loose particles, or discoloration that helps reconstruct the failure sequence.
Take both full-shell photos and close-ups. Keep the journal number visible in the image or filename.
Check for Abrasive Wear
Abrasive wear often appears as scratches or grooves in the bearing surface. In a crankshaft bearing failure investigation, abrasive damage should lead to a search for contamination.
Possible sources include dirt entering the engine, debris left after previous repair work, metal particles from another failed component, or contaminated lubricant.
Inspect the corresponding crankshaft journal for matching scratches. Review the oil filter, sump, oil galleries, and other affected bearings before the rebuild is approved.
Check for Adhesive Wear and Seizure
Adhesive wear can develop when the lubricating film becomes insufficient and direct contact occurs between bearing and journal. Severe cases may show smeared material, wiping, heat discoloration, or seizure.
A crankshaft bearing failure with this pattern should trigger investigation of oil supply, oil pressure history, oil viscosity or contamination, journal clearance, and operating temperature.
Do not immediately conclude that the oil pump failed. The earlier low oil pressure checks guide explains why several system conditions can reduce effective lubrication.
Look for Surface Fatigue
Surface fatigue can create pitting, flaking, or repeated material loss on the bearing. In crankshaft bearing failure, fatigue may reflect long-term cyclic loading, local stress concentration, material condition, alignment issues, or another contributing factor.
Research examining hundreds of diesel crankshaft bearings found surface fatigue among the prominent wear modes observed in service. citeturn596766search1turn596766search2
Compare the bearing pattern with journal geometry and housing condition rather than treating the fatigue appearance as a complete diagnosis.
Inspect the Matching Crankshaft Journal
Every failed bearing should be linked to its matching journal. A crankshaft bearing failure assessment is incomplete if the bearing is examined without measuring the shaft.
Look for scoring, transferred bearing material, heat discoloration, pitting, cracks, surface roughness, and visible ridges. After cleaning, measure the journal at the positions required by the engine procedure.
The current engine crankshaft page is relevant when replacement is required, but the repair decision should first be based on the actual journal condition.
Measure Journal Diameter, Taper and Out of Round
A visual inspection cannot determine whether a journal is dimensionally acceptable. During a crankshaft bearing failure investigation, main and rod journals should be measured according to the applicable service procedure.
Record diameter at multiple locations and orientations so taper and out-of-round can be assessed. Do not reduce several readings to one average if the wear pattern is uneven.
The correct limits vary by engine and crankshaft design. Generic internet values should not be used as pass/fail criteria.
Check for Heat Damage on the Journal
Heat discoloration around a journal can indicate severe friction or bearing seizure. In crankshaft bearing failure, this finding matters because excessive heat can affect the journal surface condition and may influence whether repair is appropriate.
Do not judge material condition from color alone. Record the affected area and combine the finding with dimensional inspection, crack testing where required, and repair-history review.
If the crankshaft has already been ground previously, remaining repair margin may be limited.
Inspect Fillets and Oil Hole Edges
Crankshaft fillets and oil-hole edges are critical areas during a crankshaft bearing failure review. Severe bearing damage can coincide with scoring, burrs, cracks, or heat effects near these features.
Inspect fillets under good lighting and check oil holes for debris or damage. If the journal is later ground, the correct fillet geometry and oil-hole finishing must be preserved.
Improper repair can create its own failure mechanism. One published crankshaft failure analysis found that incorrect grinding produced thermal-fatigue cracks that quickly damaged the bearings and journals after reassembly. citeturn596766search0
Check the Lubrication Path
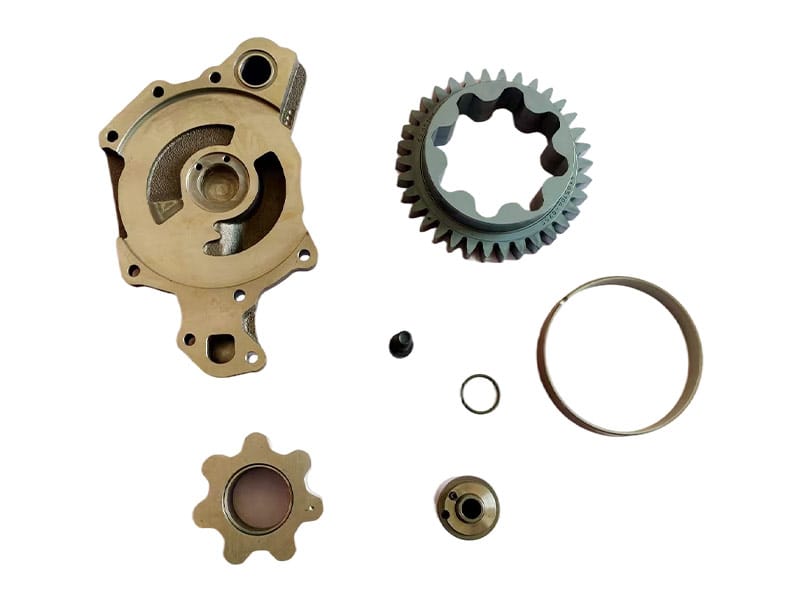
A crankshaft bearing failure should always trigger inspection of the oil path to the affected journal.
Check the oil pump condition where relevant, filter history, oil galleries, pickup system, oil passages in the crankshaft, and any evidence of sludge or debris. If one journal failed while others remained relatively normal, look for a localized restriction.
If all bearings show similar distress, a system-wide lubrication problem becomes more plausible.
Review Oil Condition and Maintenance History
Oil condition can provide useful context for crankshaft bearing failure. Review oil level, service interval, contamination, dilution, viscosity specification, and any warning events before the engine stopped.
If an oil sample or filter is still available, preserve it before disposal. Metal debris can help confirm that the failure affected more than one component.
Do not rely on maintenance records alone. A recently changed oil filter does not prove that the lubrication system remained healthy after another internal failure.
Check Bearing Clearance Evidence
Incorrect bearing clearance can contribute to crankshaft bearing failure. Too little clearance can restrict oil film and increase friction. Excessive clearance can reduce hydrodynamic support and affect oil-pressure behavior.
The correct clearance must be calculated from the actual crankshaft journal and bearing/housing dimensions using the engine-specific procedure.
Do not publish or apply one universal clearance number across engine families.
Check for Misalignment and Edge Loading
Wear concentrated at one edge of a bearing can indicate misalignment, distorted housing, connecting-rod problems, incorrect assembly, or another geometry issue.
In a crankshaft bearing failure investigation, compare the bearing wear pattern with the crankshaft, rod, main bearing saddles, and caps.
A published diesel crankshaft failure study found that failure of a main bearing cap and insufficient support contributed to fatigue failure of the crankshaft, demonstrating why the bearing housing and cap system should not be ignored. citeturn596766search3
Inspect Main Bearing Saddles and Caps
The block and main bearing caps support the crankshaft. A damaged journal and bearing may be secondary to housing distortion or cap problems.
During crankshaft bearing failure assessment, inspect saddle surfaces, cap condition, fastener areas, fretting, cracks, and alignment evidence.
If main-line geometry is suspected, use the appropriate workshop measurement procedure before installing a repaired or replacement crankshaft.
Inspect Connecting Rod Big Ends
For rod-bearing failure, the connecting-rod big end must be included in the investigation. A distorted rod bore, damaged cap, incorrect fastener condition, or previous machining can affect bearing crush and clearance.
Do not install a new bearing and crankshaft journal into a rod that has not been checked after severe crankshaft bearing failure.
Keep the rod, cap, bearing shells, and journal position connected in the repair record.
Separate Primary Damage From Secondary Damage
One of the hardest parts of crankshaft bearing failure diagnosis is determining what happened first.
A bearing can fail first and damage the crankshaft. A damaged crankshaft surface can also destroy a new bearing. Contamination from another component can damage both. A misaligned housing can produce abnormal bearing wear that then scores the journal.
This is why the evidence should be compared as a sequence rather than as isolated components.
Use a Bearing and Journal Evidence Table
| Observed Evidence | Possible Investigation Direction | What to Check Next |
|---|---|---|
| Long scratches | Abrasive contamination | Oil, filter, galleries, journal surface |
| Smeared/wiped bearing material | Loss of oil film or seizure | Oil supply, clearance, heat, journal |
| Fatigue pitting | Cyclic loading / surface fatigue | Alignment, housing, load, journal geometry |
| Edge wear | Misalignment / distorted housing | Rod, main saddle, caps, crankshaft alignment |
| Blue/dark journal | Severe heating | Material condition, cracks, repairability |
| One localized failed journal | Local oil or geometry problem | Journal oil path, housing, bearing fit |
Decide Whether the Crankshaft Can Be Reused
A crankshaft bearing failure does not automatically require crankshaft replacement. If the journals remain within the correct specification, have acceptable surfaces, and pass any required crack or alignment checks, reuse may be possible.
However, the shaft should not be reused simply because the damage “looks minor.” Dimensional and structural checks are required.
The crankshaft inspection guide provides a more complete workflow for journal measurement, runout, critical areas, and repair history.
Decide Whether Repair Is an Approved Option
If the journal is worn or scored, machining may be considered. The decision should use the approved repair sizes and bearing options for the engine.
The crankshaft repair vs replacement guide explains why repair depends on journal condition, cracks, runout, fillet geometry, heat damage, previous grinding, and available bearings.
Do not grind the shaft first and look for bearings afterward.
When Replacement Becomes More Likely
Replacement becomes more likely when crankshaft bearing failure has produced journal damage outside the approved repair range, unacceptable cracking, severe heat damage, excessive distortion, damaged fillets, or another structural defect.
Replacement may also be appropriate when the shaft has already reached its final approved repair size.
Even then, the new crankshaft must be matched accurately to the engine and related bearings.
Build a Crankshaft Bearing Failure Record
| Record Field | What to Capture |
|---|---|
| Engine identity | Engine code and plate photo |
| Bearing position | Main or rod journal number |
| Bearing photos | Full shell and close-up damage |
| Journal condition | Scoring, heat, transfer, cracks |
| Journal measurements | Diameter, taper, out-of-round |
| Oil evidence | Pressure history, contamination, filter findings |
| Housing / rod evidence | Alignment, cap and bore condition |
| Repair decision | Reuse / machine / replace |
What to Send When a Replacement Crankshaft Is Required
If the final crankshaft bearing failure assessment shows that replacement is required, send the complete engine code, crankshaft reference, main and rod journal information, known repair history, stroke, front and rear interface photos, quantity, and required bearing size.
The crankshaft RFQ guide provides a structured way to prepare this information.
You can also submit the engine code, part reference, interface photos, and inspection findings through the contact page for a matching review.
Conclusion
Crankshaft bearing failure should be investigated as a system event. The bearing shell can reveal abrasive wear, adhesive contact, fatigue, overheating, edge loading, or other damage patterns, but the bearing alone does not prove the root cause.
The strongest assessment links the failed bearing to its journal, measures the shaft, checks the oil path, reviews housing and rod geometry, preserves contamination evidence, and then decides whether the crankshaft can be reused, repaired, or replaced. That approach reduces the risk of installing new bearings or a new crankshaft without correcting the condition that caused the original failure.
FAQ
What causes crankshaft bearing failure?
Crankshaft bearing failure can be associated with oil starvation, contamination, incorrect clearance, housing or rod misalignment, excessive heat, assembly problems, surface fatigue, or secondary damage from another engine fault. More than one factor can contribute.
Does a failed crankshaft bearing mean the crankshaft must be replaced?
No. The crankshaft should be inspected and measured. If the journal remains within the applicable limits and passes required structural checks, reuse may be possible. Repair or replacement depends on the actual damage and engine-specific service limits.
What does a scratched bearing usually indicate?
Long scratches can suggest abrasive contamination, but the source still needs to be identified. Inspect the oil, filter, galleries, crankshaft journal, and other bearings before reaching a conclusion.
Why should bearing shells be kept in position order?
Keeping bearings by position allows the workshop to compare each shell with its corresponding journal and identify whether damage is local or system-wide. Mixing shells can destroy useful diagnostic evidence.
What information is needed if the crankshaft must be replaced?
Send the engine code, crankshaft reference, journal information, repair history, stroke, front and rear interface photos, quantity, and bearing requirements. The crankshaft bearing failure record can provide much of this evidence.