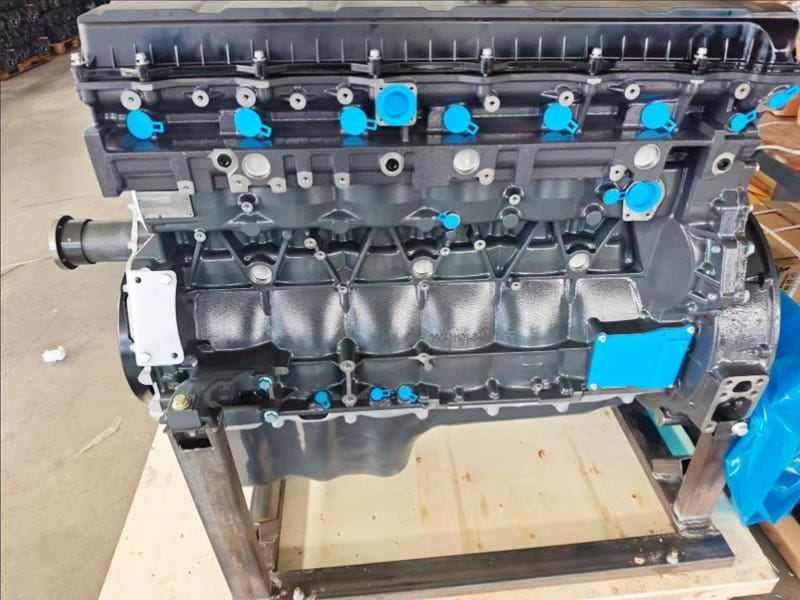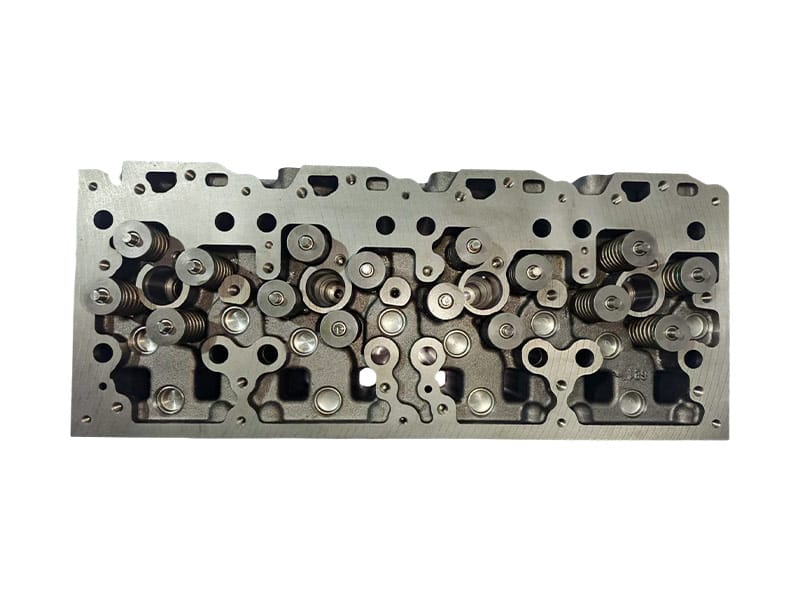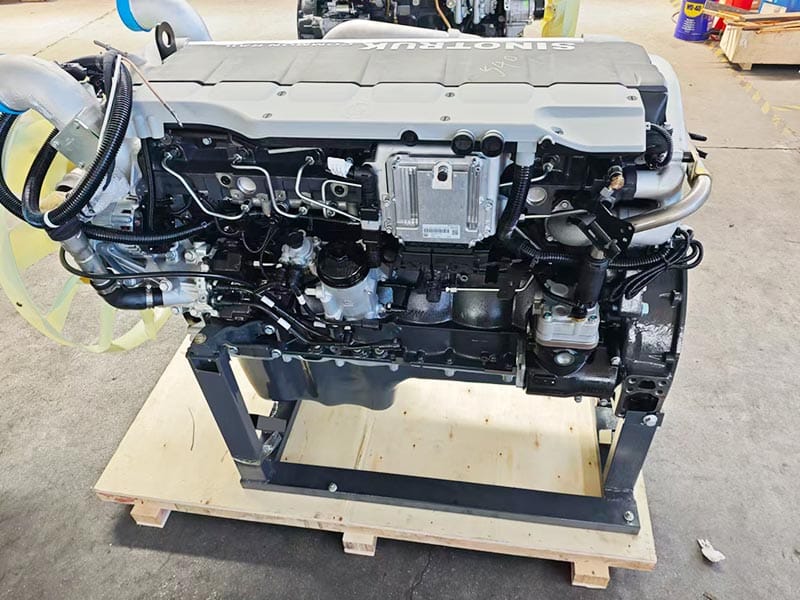
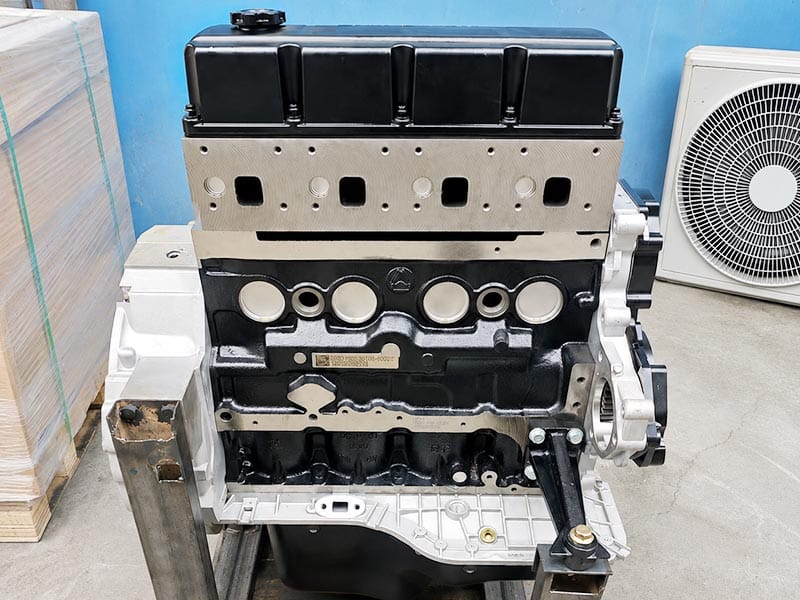
An engine block inspection checklist should begin by defining exactly what kind of block is being received or evaluated. A bare block and an assembled block are not the same purchasing item. A bare block focuses inspection on the casting, bores, deck, main bearing structure, threads, passages, plugs, and machining condition. An assembled block adds internal components such as the crankshaft, pistons, connecting rods, bearings, and possibly other fitted parts that require their own verification.
For heavy truck rebuilds, the goal of an engine block inspection checklist is to confirm identity, structural condition, machining condition, and supply scope before the block enters the rebuild process. This guide explains how buyers and workshops can organize that inspection without relying on generic bore, flatness, or alignment limits that may not apply to the engine being repaired.
Define Whether the Block Is Bare or Assembled
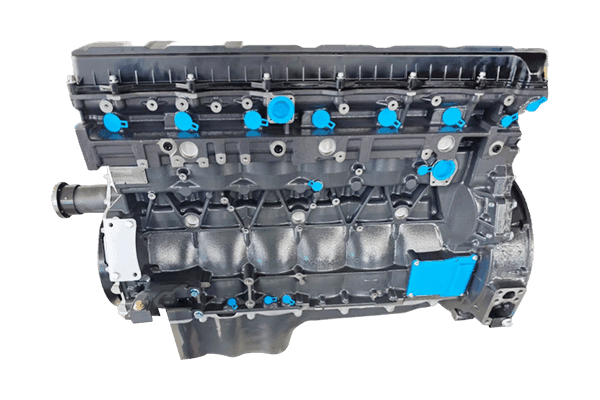
The first item on an engine block inspection checklist should be supply configuration. Is the shipment a bare casting, a machined bare block, a block with liners installed, or a block with crankshaft, pistons, rods, and other internals already fitted?
This distinction matters because the inspection scope changes immediately. A bare block can be examined directly at the main saddles, cylinder bores, deck, oil galleries, and threaded holes. An assembled block can hide important surfaces and introduces new questions about the identity and condition of the fitted components.
The current D2066 and 2076 engine block page specifically asks buyers to clarify whether they need a bare block or a unit with fitted components. That is the right approach: the quotation should define the BOM before inspection starts.
Confirm Engine Block Identity First
Before measuring anything, the engine block inspection checklist should confirm the engine application and block identity. Record the complete engine code, block reference, casting marks, visible production marks, and any supplied documentation.
Do not assume that one casting number proves the finished configuration. A casting family can be machined differently for different engine versions. If several numbers are visible, photograph each one and record where it appears.
If the block has been rebuilt or repaired previously, note that history. Previous machining, line boring, sleeving, decking, or thread repair can affect later acceptance.
Inspect Shipping Condition Before Cleaning
A receiving engine block inspection checklist should document transport condition before protective materials are removed completely.
Photograph the crate, pallet, straps, labels, protective caps, corrosion protection, and any impact damage. Heavy blocks can shift during transport and damage machined surfaces even when the outer packaging looks acceptable.
Look for chipped corners, broken mounting bosses, damaged threads, rust, water exposure, and contact between the block and the crate.
Inspect the Block for Visible Cracks
Visual crack inspection is a core item in an engine block inspection checklist. Pay particular attention to cylinder areas, main bearing webs, deck surfaces, threaded regions, water jackets, expansion-plug areas, and external bosses.
Service literature commonly includes crack inspection among the first block checks and distinguishes structural cracks from other surface defects. The exact repairability of a crack depends on its location, material, and the applicable engine procedure.
If a suspected crack is found, stop machining and document it with a close-up and a wider location photo. An appropriate non-destructive testing method may be needed for confirmation.
Use Non Destructive Testing Where Required
A visual check may not reveal every crack. An engine block inspection checklist may therefore include liquid penetrant, magnetic particle inspection, pressure testing, or another approved method depending on the block material and suspected defect.
The ASNT overview of liquid penetrant testing explains how surface-breaking discontinuities can be revealed on suitable nonporous materials.
Do not convert one testing method into a universal acceptance rule. The correct method and acceptance criteria must match the engine block material and repair specification.
Check the Deck Surface for Damage and Flatness
The deck surface should be inspected for corrosion, erosion, scratches, gouges, dents, fire-ring damage, previous machining marks, and general flatness.
Engine service procedures commonly call for measuring block deck flatness with a precision straightedge and feeler gauge or another approved method. Published manuals also show that the allowable limit is engine-specific and that some blocks permit resurfacing while others require replacement if flatness is outside specification. citeturn609331search0turn609331search5turn609331search8
For that reason, an engine block inspection checklist should record the measured condition and specification source rather than using one universal flatness value.
Inspect Cylinder Bores or Liner Registers
The next stage of the engine block inspection checklist depends on whether the engine uses parent bores, dry liners, or wet liners.
For parent-bore or dry-liner designs, inspect the supporting bores for scoring, wear, corrosion, taper, out-of-round, and previous machining. For wet-liner designs, inspect liner registers, counterbores, flange seats, lower guide areas, and sealing regions.
Published engine service procedures commonly require bore measurements at multiple heights and orientations to evaluate wear, taper, and out-of-round. citeturn609331search5turn609331search6
The exact measuring locations and limits should come from the engine’s service data.
Measure Bore Geometry Instead of One Diameter
One bore reading is not enough for an engine block inspection checklist. The workshop should measure at the specified heights and orientations so taper and out-of-round can be identified.
If the block is being evaluated for new pistons or liners, record the individual readings rather than only the final average. A bore can meet one diameter reading while still being distorted.
If oversize machining or sleeving is being considered, confirm that the engine has an approved repair path before material is removed.
Inspect Liner Seats and Counterbores Carefully
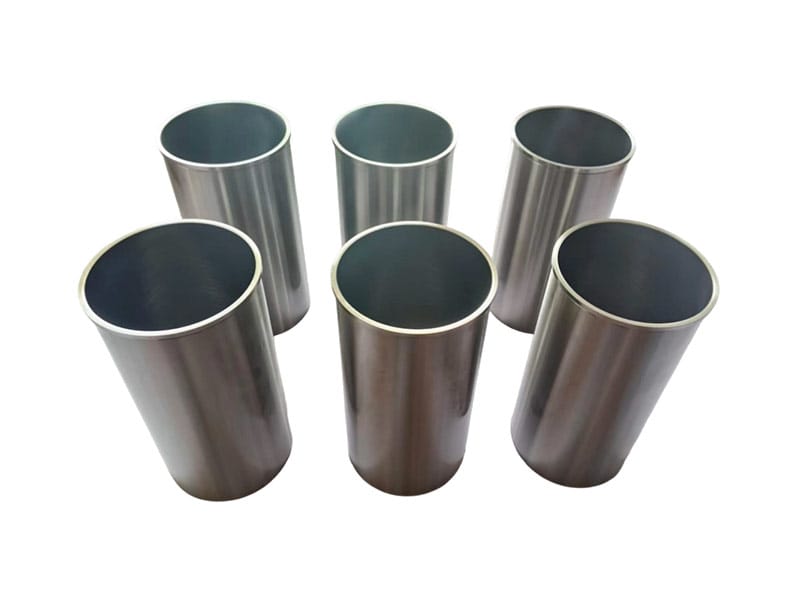
For wet-liner engines, liner seating areas are critical. The engine block inspection checklist should examine the counterbore or flange seat for erosion, fretting, corrosion, uneven support, cracks, or previous repair.
A damaged seat can affect liner protrusion and head-gasket sealing even when the new liner itself is correct.
The previous wet vs dry cylinder liner guide explains why wet-liner systems depend on correct seating and sealing conditions.
Inspect Main Bearing Saddles and Caps
Main bearing structure is one of the most important areas in an engine block inspection checklist. Inspect saddles, caps, cap registers, webs, fastener holes, and mating surfaces for cracks, fretting, scoring, distortion, or previous repair.
Service manuals commonly require main bearing bore size, roundness, and alignment checks. Some procedures specify replacement when main bearing bores fall outside tolerance, while others may allow an approved align-boring operation. citeturn609331search3turn609331search6turn609331search12
The repair decision must therefore follow the exact engine procedure.
Check Main Bore Alignment When Failure History Suggests It
If the engine suffered severe bearing damage, crankshaft seizure, broken caps, or repeated journal failure, the engine block inspection checklist should include main bore alignment review.
Uneven bearing wear can be one clue that the crankshaft support structure is not aligned correctly. The block, caps, and crankshaft should be reviewed together.
The earlier crankshaft bearing failure guide explains why bearing wear patterns can point toward housing or alignment problems instead of crankshaft damage alone.
Inspect Head Bolt and Main Cap Threads
Thread condition deserves a dedicated item on the engine block inspection checklist. Inspect head-bolt holes, main-cap fastener holes, accessory mounting threads, and any other critical threaded regions.
Look for pulled threads, corrosion, damaged inserts, cross-threading, cracks around the boss, and debris that can affect fastener seating.
Published block inspection specifications often include checking tapped holes for thread condition and reporting any required repair. citeturn609331search19
Inspect Oil Galleries and Coolant Passages
Oil and coolant passages should be checked for contamination, corrosion, scale, debris, damaged plugs, and evidence of previous failure.
After a bearing failure, metal particles may remain inside oil galleries. After overheating or coolant neglect, scale or corrosion may affect coolant passages.
An engine block inspection checklist should therefore include cleaning and verification of galleries according to the engine’s approved rebuild procedure.
Check Expansion Plugs and Gallery Plugs
Plugs should not be treated as insignificant details. Inspect coolant plugs, gallery plugs, and other closure points for corrosion, leakage, poor seating, damage, or signs of previous removal.
If plugs are removed during cleaning or machining, record their locations and replacement requirements.
A leak from a plug can mimic a cracked-block symptom, so receiving and rebuild inspection should distinguish plug leakage from casting damage.
Inspect Machined Mating Surfaces
Besides the deck, an engine block inspection checklist should review front cover surfaces, rear housing surfaces, oil-pan rails, bedplate or lower-crankcase mating surfaces, pump mounting areas, and other machined interfaces relevant to the engine.
Look for nicks, burrs, gouges, corrosion, and distortion that could affect gasket sealing or component alignment.
Several service procedures explicitly include inspection of sealing and mating surfaces, pan rails, and front-cover areas. citeturn609331search0turn609331search8
Check Camshaft or Auxiliary Bores if the Block Carries Them
Some engine blocks carry camshaft bores, balance-shaft bores, tappet bores, or other internal features. Where applicable, these should be added to the engine block inspection checklist.
Inspect for scoring, wear, alignment problems, damaged bearing bores, or lubrication issues. The exact checks depend on the engine architecture.
Do not add these inspections automatically to engines where those functions are located elsewhere.
Inspect Mounting Bosses and External Interfaces
An engine block can be structurally sound internally but still unusable if key mounting points are broken or heavily damaged.
Check engine mounts, accessory bosses, starter areas, pump mounts, bellhousing or rear-housing surfaces, lifting points, and threaded external interfaces.
If the replacement block is being purchased for a specific truck, these physical interfaces are also part of fitment confirmation.
Separate Bare Block Inspection From Assembled Block Inspection
The following table helps define the inspection scope before receiving work begins.
| Inspection Area | Bare Block | Assembled Block |
|---|---|---|
| Block identity | Inspect directly | Inspect directly |
| Deck and bores | Fully accessible | May be partly hidden |
| Main saddles | Accessible if caps removed | May require disassembly |
| Crankshaft | Not included | Verify reference and condition |
| Pistons / rods | Not included | Verify quantity, reference and matching |
| Bearings | Not included | Verify if part of supplied assembly |
| Supply scope | Confirm plugs / liners / inserts | Confirm full internal BOM |
Verify the Internal BOM on an Assembled Block
If the block arrives with fitted internal components, the engine block inspection checklist should compare the physical contents with the quotation.
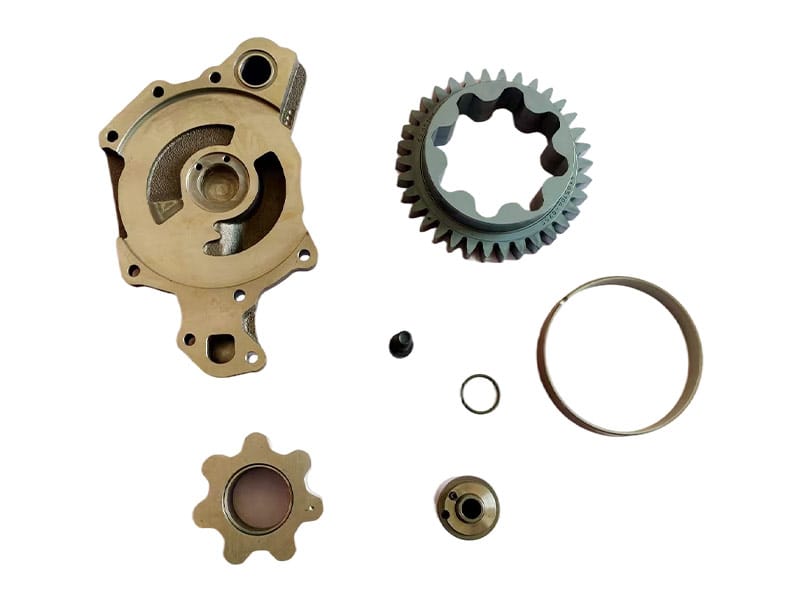
Confirm whether the crankshaft, pistons, rods, liners, bearings, oil pump, cylinder head, or other components are included. Do not assume that every part shown in a product photo belongs to the shipment.
The D2066/2076 engine block page explicitly asks buyers to itemize the required crankshaft, pistons, connecting rods, cylinder head, and external accessories rather than using the image as the packing list.
Check Crankshaft and Piston Matching in an Assembled Block
An assembled block adds fitment questions beyond the casting itself. Confirm the crankshaft reference, journal configuration, piston design, liner relationship, and any known repair size.
The piston and liner matching guide and crankshaft identification guide provide the product-specific evidence used for those components.
The block assembly should be treated as several matched components, not one visually complete object.
Build a Rebuild Buyer Inspection Record
| Inspection Field | What to Record | Status |
|---|---|---|
| Engine/block identity | Engine code, block reference, casting marks | Matched / Open |
| Supply configuration | Bare / fitted / assembled BOM | Confirmed / Open |
| Shipping condition | Crate, corrosion, impact photos | Accept / Hold |
| Crack inspection | Visual and specified NDT findings | Accept / Hold |
| Deck | Condition and required flatness check | Accept / Review |
| Bores / liner seats | Wear, taper, out-of-round, seat condition | Accept / Review |
| Main bearing structure | Saddles, caps, alignment evidence | Accept / Review |
| Threads / plugs | Condition and completeness | Accept / Review |
| Passages | Oil and coolant cleanliness | Accept / Review |
| Included internals | Crankshaft, pistons, rods, liners, bearings | Complete / Missing |
Use Measurements That Can Be Traced to the Correct Feature
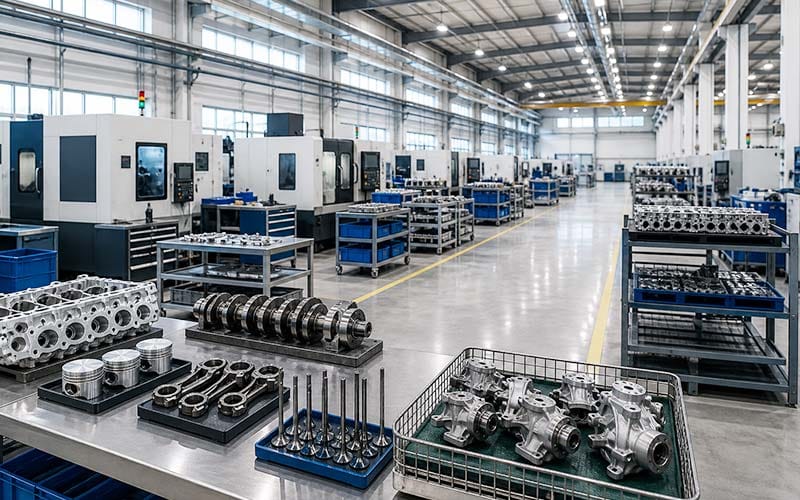
If dimensional inspection is part of the engine block inspection checklist, every measurement should be linked to a defined location and specification.
The NIST guidance on metrological traceability explains why measurement results are more useful when their reference and calibration chain are documented.
For a rebuild buyer, the practical requirement is simpler: identify what was measured, where, with which instrument, and against which engine limit.
Do Not Approve Machining Before the Block Is Fully Assessed
A common mistake is to start boring, honing, decking, or line machining before the block’s full condition is known.
The engine block inspection checklist should be completed first so cracks, previous repairs, main-bore condition, liner seats, and machining history are understood.
Published service information shows that acceptable repair routes differ by engine: some blocks allow resurfacing or approved machining, while others specify replacement when certain dimensions are outside specification. citeturn609331search0turn609331search8
Decide Whether the Block Is Reusable, Repairable or Replaceable
The final decision should be based on the full condition record. A reusable block is within the correct dimensional and structural limits. A repairable block has defects that fall within an approved machining or repair path. A replacement block is required when critical damage or dimensions fall outside the approved repair range.
The earlier cracked engine block symptoms guide explains why crack location and structural significance should be confirmed before a block is rejected or repaired.
What to Send When Requesting a Replacement Engine Block
If the engine block inspection checklist shows that replacement is required, send the complete engine code, block reference or casting marks, photos, required bare or fitted configuration, internal-component list, quantity, and destination.
The current auto engine parts category includes the block and engine assembly product families used for replacement inquiries.
You can submit the engine plate, installation details, required assembly scope, quantity, and destination through the contact page for a matching review.
Conclusion
A useful engine block inspection checklist begins by distinguishing a bare block from an assembled block. It then confirms identity, shipping condition, cracks, deck surface, bores or liner seats, main bearing structure, threads, passages, plugs, mating surfaces, and any fitted internal components.
The key is to avoid universal dimensional assumptions. Bore wear, deck flatness, main-bore alignment, machining allowance, and repairability depend on the exact engine. When the block is documented systematically before machining or installation, rebuild buyers can make a clearer reuse, repair, or replacement decision and prepare a more accurate purchasing request.
FAQ
What should an engine block inspection checklist include?
An engine block inspection checklist should include engine and block identity, supply configuration, shipping condition, cracks, deck condition, cylinder bores or liner seats, main bearing saddles and caps, threads, oil and coolant passages, plugs, mounting interfaces, and fitted internal components where applicable.
Should a bare engine block and an assembled block be inspected the same way?
No. A bare block allows direct inspection of the casting and machined structures. An assembled block also requires verification of the fitted crankshaft, pistons, rods, liners, bearings, and supply BOM.
Can engine block deck flatness use one universal limit?
No. Service manuals use different limits and different repair instructions depending on the engine. Use the applicable engine procedure rather than a generic flatness value.
Why should main bearing bores be checked?
Main bearing bores support and align the crankshaft. Distortion, damage, or misalignment can contribute to abnormal bearing wear and crankshaft problems. The required measurement and repair path depend on the engine.
What information is needed when ordering a replacement engine block?
Send the engine code, block reference or casting marks, clear photos, required bare or assembled configuration, included-component list, quantity, and destination. A completed engine block inspection checklist should provide the evidence explaining why replacement is required.